 tsumo
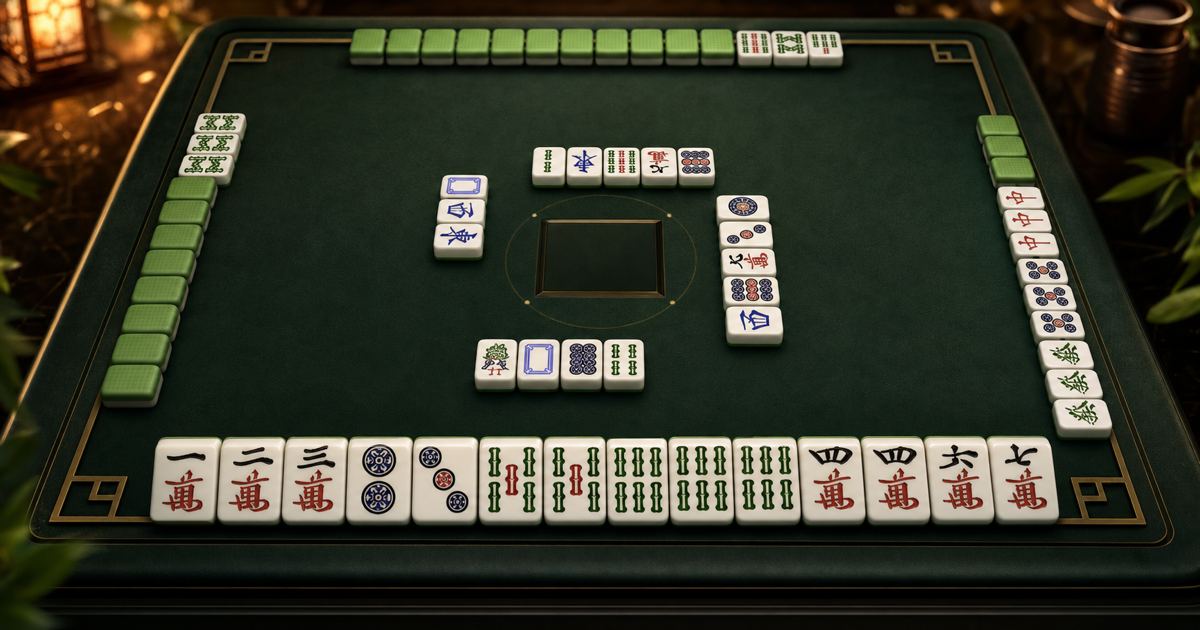
tsumoHigh-Efficiency Two-Sided Wait (8 Live Outs)
Can complete a sequence with either a 3 Dot or a 6 Dot (up to 8 tiles).
Review common Mahjong beginner mistakes, why they happen across major rulesets, and how to fix hand planning, calls, scoring gates, and defense.
Discover the top beginner Mahjong mistakes: overcalling, chasing low-probability special hands, bad waits, reckless quads, and pre-discard diagnostic habits.
The single most widespread beginner flaw is clicking the call button whenever it lights up. Calling opens your hand, reveals your suit focus to opponents, destroys concealed yaku (like Menzen Tsumo and Pinfu), and locks tiles so they can never be used defensively.
Strong players only open their hand when they have a confirmed scoring route and a clear tactical advantage.
Trying to build Thirteen Orphans (Kokushi Musou) or Pure One Suit (Ching Yat Sik) from an average starting hand is a recipe for frequent losses.
Special hands are rare exceptions. 90% of your games should focus on fundamental 5-block efficiency: building clean sequences and triplets in live suits.
Beginners often hold onto a lonely Dragon or Wind tile because it looks pretty, discarding a connected 4-5 suited shape instead.
A 4-5 shape has up to 8 live winning outs in the wall. An isolated honor tile has at most 3 remaining copies and can never form a sequence. Discarding flexible shapes for isolated honors severely degrades your hand speed.
Can complete a sequence with either a 3 Dot or a 6 Dot (up to 8 tiles).
Rigid edge wait: only completes with a 3 Bamboo (at most 4 tiles in wall).
Declaring a Kan flips a new Dora indicator and gives free bonus points to the entire table while locking four of your own tiles into an unchangeable meld.
Unless you are in Tenpai with a monster hand or need an extra draw to salvage a desperate situation, passing on Kan is usually the higher-EV decision.
Tunnel-visioning on your own tiles while ignoring opponent discards is the primary reason beginners deal into expensive winning hands (Ron).
Always scan the discard pools: if an opponent has declared Riichi or exposed three melds, middle suited tiles (4, 5, 6) in their suspected suit are extremely dangerous.
Finishing 14 tiles into four sets and a pair without having a valid Yaku in Riichi, 3 non-flower Faan in HKOS, or 8 points in MCR results in an illegal win declaration (Chombo).
Separate structure from eligibility on every turn.
Top tournament players do not discard on reflex. They run a fast 4-step diagnostic loop on every turn before their tile touches the table:
Step 1 (Hand Shape): How many completed sets and prototype shapes do I currently hold?
Step 2 (Legality Check): If I complete this hand, what is my qualifying Yaku, Faan, or Point gate?
Step 3 (Efficiency Check): Which tile in my hand is doing the least amount of work?
Step 4 (Safety Check): Did an opponent declare Riichi or expose high value? Is my candidate discard visible in their river (Genbutsu)?
When a hand goes poorly, resist the urge to blame bad tile luck. Classify your mistake into one of three buckets:
1. Structure Error: Did I overcall, break a two-sided wait, or hold too many suits simultaneously?
2. Gate Error: Did I finish a hand that was missing a legal Yaku or fell short of the 3 non-flower Faan / 8-Point threshold?
3. Defense Error: Did I push a low-value 1-Han hand into an opponent's obvious Riichi or high-multiplier open meld?
| Beginner Mistake | Underlying Flaw | Expert Correction |
|---|---|---|
| Calling Pon on random terminals/winds | Hunger for fast sets | Pass and keep hand closed unless honor gives guaranteed value |
| Holding 1-2 edge waits over 4-5 middle shapes | Reluctance to discard low numbers | Prioritize two-sided (Ryanmen) shapes with 8 live outs |
| Declaring Kan with weak hands | Excitement over 4 tiles | Pass on Kan to avoid flipping bonus Dora for opponents |
| Discarding middle tiles into Riichi | Ignoring river safety | Use Genbutsu (discards already in their pool) to fold safely |
It is correct to call early when your hand already holds a guaranteed high-value anchor (like a Dragon triplet or Seat Wind in HKOS/Riichi, or an 8-point pattern core in MCR) and speed will let you finish before opponents can organize.
Adopt Genbutsu defense: any tile that the Riichi player has already discarded into their own river is 100% safe against their Ron. When defending, discard their existing discards first.
A 1-2 shape can only complete with a 3 (at most 4 tiles in the wall). A 4-5 shape can complete with either a 3 or a 6 (up to 8 tiles in the wall), doubling your mathematical probability of completing the set.
Genbutsu is the Riichi rule stating that any tile currently visible in an opponent's discard river cannot be claimed by that opponent for Ron (due to Furiten). Discarding Genbutsu is 100% safe against that specific player.